Creating a 3D Numworks simulator
July 10, 2020I love 3D things. I love Numworks. I love the fact that you can run their simulator in your browser, so why not combine all of this into a nice project.
Why?
3D modeling is cool. WebGL is cool. I want something impressive to put on Omega’s website. An idea came to my mind: why mot make a 3D version of Numworks’ simulator, where you can make the calculator spin and press the buttons in 3D by clicking on them (and see them being pressed, because that’s cool too).
A First problem came to mind: where do I get models for that thing? First there are the official models of the N0100, but these are way too detailed, and the license doesn’t fit my needs (CC-BY-SA-ND, meaning I can’t edit the models, thus can’t remove complexity). So I started modeling…
Modeling.
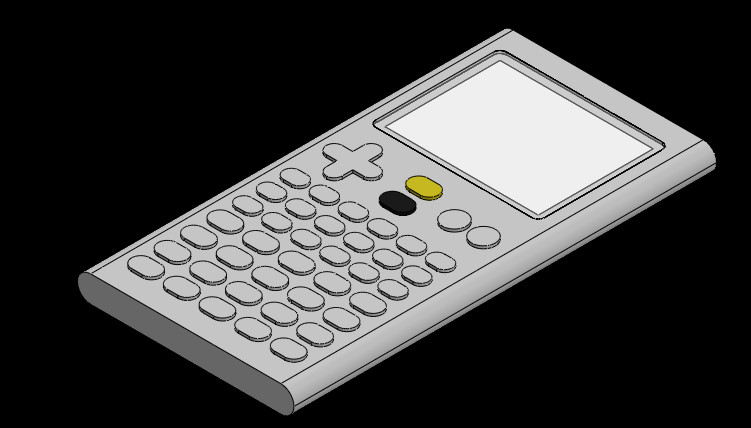
An hour later I had a first correct model, with the basic shell (in one part), the screen, screen protector and the buttons. I did my best to get it as accurate as possible.

If you need, here are the Solidworks files[1] (Individual parts + assembly). Don’t mind the way I did it, I’m not that experienced in CAD.
Adapting the model
After exporting the models to STL, it was time to play with them in blender. I first removed the unneeded faces (the ones hidden by the buttons for example), then marked the rough edges and made blender render faces smooth.

Looking great, doesn’t it? You can see the cross poking out of the top of the calculator, and that’s on purpose: everything in the blender file[1] is at 0;0.
Three.js joins the battle!
Three.js is a lightweight, easy to use 3D library written in JavaScript.
Three is in itself really easy to use, but the last time I used it was long ago, so getting started was not easy. After 30 minutes of hair-pulling because of ES6 modules import things, I managed to load the body of the calculator and make it spin with my mouse, yay!

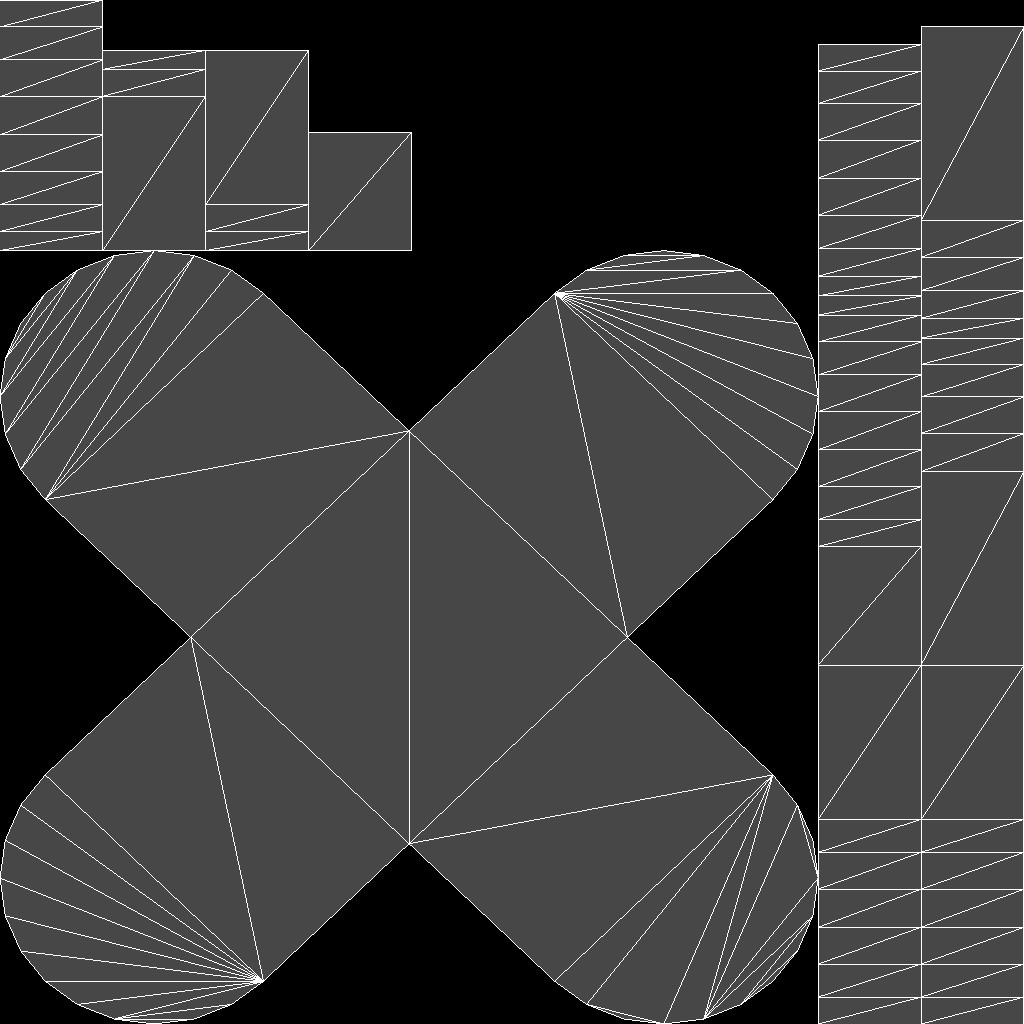
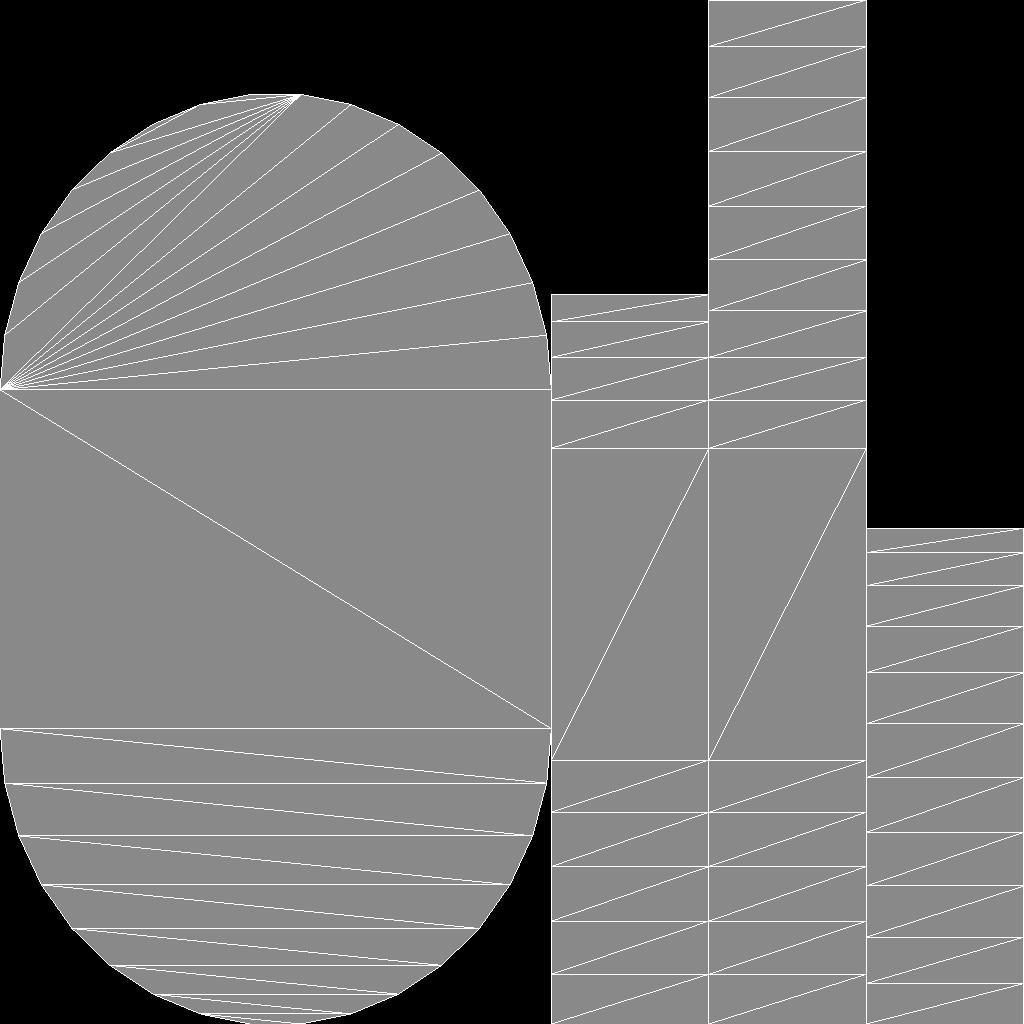
After that I managed to add more things like the screen and the screen protector. But with the screen I faced an issue: I hadn’t done the UV mapping yet! So the UV mappings I did…


I even mapped the top of the calculator to put the little Numworks logo on it. Now it was time to create the textures… I used a clever trick to automate this using GIMP and the Numworks Keys Font. Everything that was used is in the github repository of the project, under textures/src. Now that this was done, the Numworks was complete, but I wasn’t quite done yet with the “Art” part…

MORE ART!
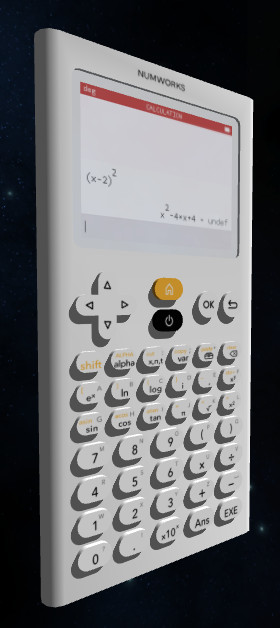
I started by adding shadows and a skymap. The skymap I used is a public domain skymap that I found on OpenGameArt. I also added reflection of the skymap on the numwork’s screen protector.

Now this is where the real fun begins…
The simulator, finally…
Well, Emscripten is kind of a pain sometimes, but it works well enough. I was worried about the fact that it catches all the events of the pages,
and I was right to worry about that, but that wasn’t the only problem… Emscripten makes the main thread hang, making the whole thing feel slow. I had two choices if I wanted
to fix that issue: redesign the whole thing to make it run in a web worker or… patch it with a bit of duct tape. Of course I chose the duct tape (seriously I tried the
web worker route, It was even worse). The file ion/src/simulator/web/callback.cpp
contains a call to emscripten_sleep with 0 ms, to give control to the browser to make it run the event loop. This is normally enough, but here it isn’t, due to having a
live 3D render going on. Changing that number to 20 ms fixed the event-loop lag, but made the simulator a bit slower.
Controlling the thing
Now, I can control it with my keyboard but… Having button support is so much fun. The dpad even rotates correctly when you press it!
Is it done?
I’d say yes. You can find the final version here and can test it there. Feel free to open issues or write comments on this post if you find anything that can be improved.
Notes:
- [1] These files are placed under CC-BY-NC-SA.
